Quick Start
This page gives you an introduction on how to get started with PyTecplot. For installation and system requirements, see the installation instructions.
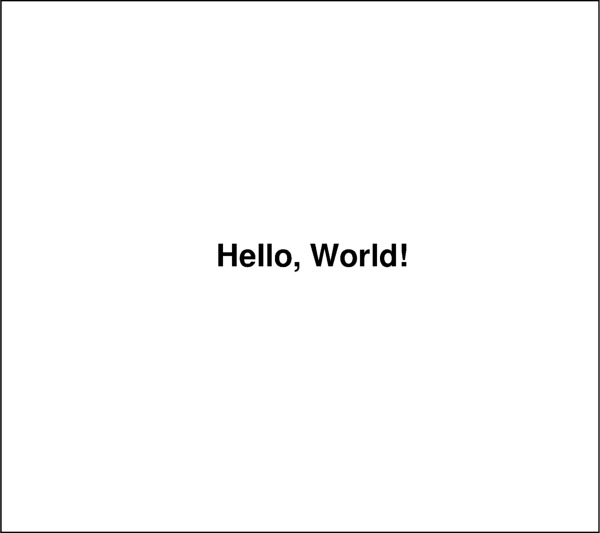
Hello World
Here is a simple PyTecplot script which creates a simple plot with some text and export an image of that plot. Note that the Tecplot 360 License is acquired automatically on the first call into the PyTecplot API:
import logging
logging.basicConfig(level=logging.DEBUG)

import tecplot

# Run this script with "-c" to connect to Tecplot 360 on port 7600
# To enable connections in Tecplot 360, click on:
#   "Scripting" -> "PyTecplot Connections..." -> "Accept connections"
import sys
if '-c' in sys.argv:
    tecplot.session.connect()

tecplot.new_layout()

frame = tecplot.active_frame()
frame.add_text('Hello, World!', position=(36, 50), size=34)
tecplot.export.save_png('hello_world.png', 600, supersample=3)
After running this script, you should have a PNG image like this:
Zero-based Indexing
It is important to know that all indices in PyTecplot scripts are
zero-based. This is different from the Tecplot macro language, which is one-based.
This is to keep with the expectations when working in the python language.
However, PyTecplot does not modify strings that are passed to the Tecplot Engine. This means that one-based indexing should be used when running macro
commands from python or when using execute_equation().
Macro Integration
All macro commands can be executed from an active PyTecplot session. This means you may wrap all of your existing macro commands into a python script and one-by-one move the commands into native Python code. The “Hello, World!” example above could have been written like this:
>>> import tecplot
>>> tecplot.macro.execute_command(r'''
...   $!ATTACHTEXT
...     ANCHORPOS { X = 35 Y = 50 }
...     TEXTSHAPE { HEIGHT = 35 }
...     TEXT = 'Hello, World!'
...   $!EXPORTSETUP EXPORTFNAME = 'hello_world.png'
...   $!EXPORT
...     EXPORTREGION = CURRENTFRAME
... ''')
We could pull out just the image creation part into Python by writing this:
>>> import tecplot
>>> tecplot.macro.execute_command(r'''
...   $!ATTACHTEXT
...     ANCHORPOS { X = 35 Y = 50 }
...     TEXTSHAPE { HEIGHT = 35 }
...     TEXT = 'Hello, World!'
... ''')
>>> tecplot.export.save_png('hello_world.png', 600, supersample=3)
For more information, see the tecplot.macro reference documentation.
Getting Help
Examples can be found in the pytecplot/examples directory and the primary
documentation (in HTML format) can found under pytecplot/docs/html which is
generated directly from the source code under pytecplot/tecplot. In
addition, all imported objects and methods that are part of the public API have
doc strings which can be accessed with python’s native help() function.
Users are encouraged to contact support@tecplot.com for any questions they may
have.